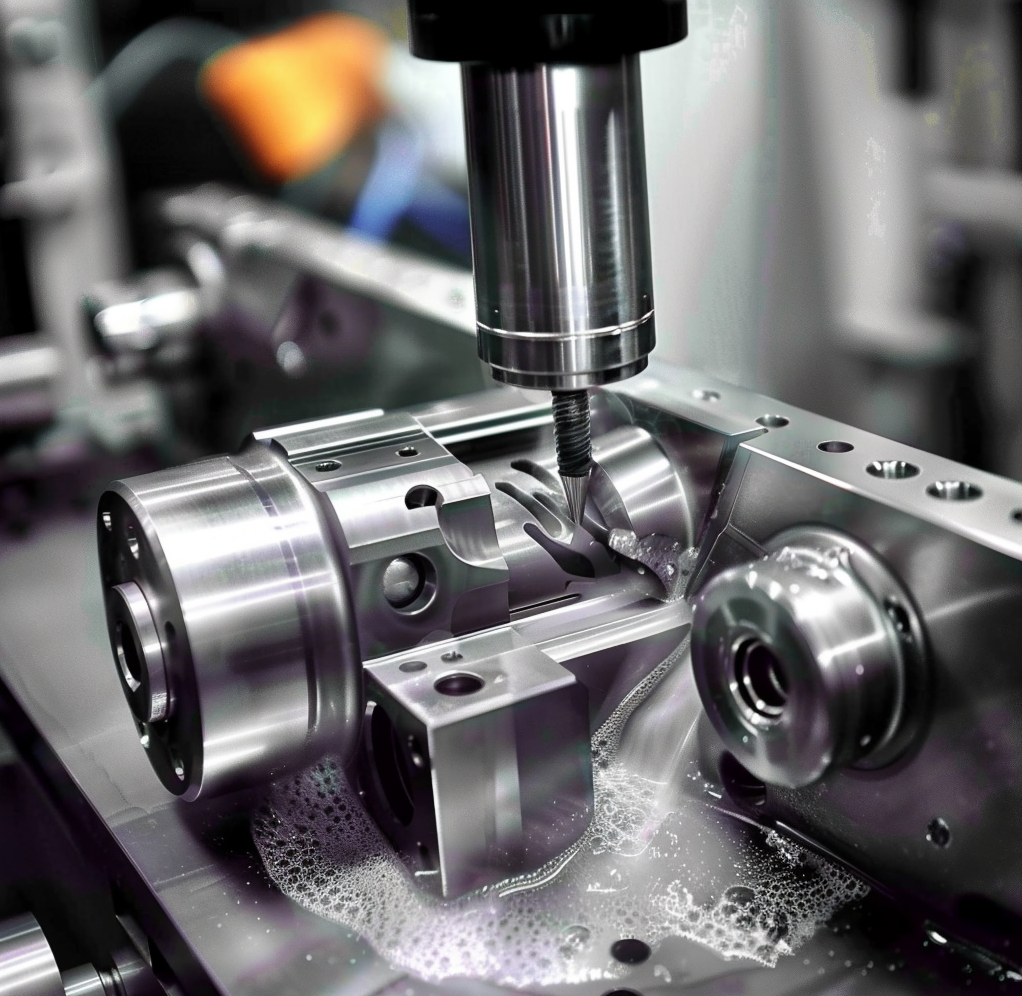
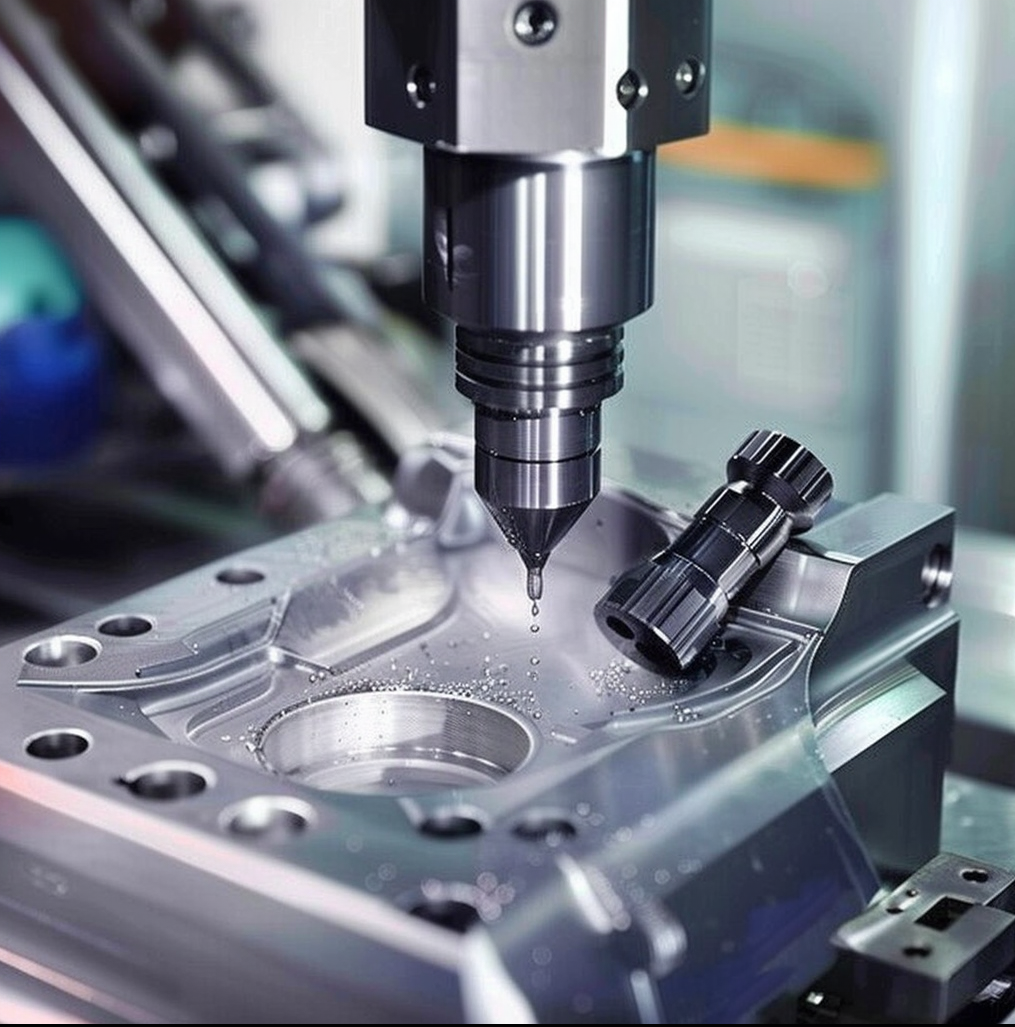
Processing accuracy is the degree to which the actual size, shape, and position of the three geometric parameters of a processed part match the ideal geometric parameters required by the drawing. The perfect geometric parameters refer to the average size of the part, the surface geometry like circles, cylinders, planes, cones, straight lines, etc., and the mutual positions between surfaces like parallelism, verticality, coaxiality, symmetry, and so on. The difference between the actual geometric parameters of the part and the ideal geometric parameters is known as the machining error.
1. The concept of processing accuracy
The accuracy of machining is crucial in the production of products. Machining accuracy and machining error are two terms used to evaluate the geometric parameters of the machined surface. The tolerance grade is used to measure the machining accuracy. The accuracy is higher when the grade value is smaller. Machining error is expressed in numerical values. The error is more significant when the numerical value is more considerable. High processing precision means fewer processing errors, and conversely, lower precision means more errors in processing.
There are 20 tolerance levels from IT01, IT0, IT1, IT2, IT3 to IT18. Among them, IT01 represents the highest machining accuracy of the part, IT18 represents the lowest machining accuracy, and generally, IT7 and IT8 have medium machining accuracy. Level.
“The actual parameters obtained by any processing method will be somewhat accurate. However, as long as the processing error is within the tolerance range specified by the part drawing, the processing accuracy is considered to be guaranteed. This means that the accuracy of the processing depends on the function of the part being created and its specific requirements as specified in the drawing.”
The quality of a machine is dependent on two key factors: the processing quality of the parts and the assembly quality of the machine. The processing quality of the parts is determined by two aspects: processing accuracy and surface quality.
Processing accuracy, on one hand, refers to how closely the actual geometric parameters (size, shape, and position) of the part after processing match the ideal geometric parameters. The difference between the actual and ideal geometric parameters is called machining error. The size of the machining error indicates the level of machining accuracy. A larger error means lower processing accuracy, whereas smaller errors indicate higher processing accuracy.
2. Related content of machining accuracy
(1) Dimensional accuracy
It refers to the degree to which the actual size of the processed part matches the center of the tolerance zone of the part size.
(2) Shape accuracy
It refers to the degree to which the actual geometric shape of the machined part surface matches the ideal geometric shape.
(3) Position accuracy
Refers to the actual position accuracy difference between the relevant surfaces of the processed precision machined parts.
(4) Interrelationship
When designing machine parts and specifying the machining accuracy, focusing on controlling the shape error within the position tolerance is essential. Additionally, it is important to ensure that the position error is smaller than the dimensional tolerance. Precision parts or important surfaces of the parts require higher shape accuracy than position accuracy and higher position accuracy than dimensional accuracy. Adhering to these guidelines ensures that the machine parts are designed and machined with the utmost precision.
3. Adjustment Method:
1. Adjust the process system to ensure optimal performance.
2. Reduce machine tool errors to improve accuracy.
3. Reduce transmission chain transmission errors to enhance the efficiency of the system.
4. Reduce tool wear to maintain precision and quality.
5. Reduce stress deformation of the process system to avoid any damage.
6. Reduce thermal deformation of the process system to maintain stability.
7. Reduce residual stress to ensure consistent and reliable performance.
4. Causes of impact
(1) Processing principle error
Machining principle errors are usually caused by using an approximate blade profile or transmission relationship for processing. These errors tend to occur during thread, gear, and complex surface processing. In order to improve productivity and reduce costs, approximate processing is often used as long as the theoretical error meets the required processing accuracy standards.
(2) Adjustment error
The adjustment error of machine tools refers to the error caused by the inaccurate adjustment.
(3) Machine tool error
Machine tool errors refer to mistakes in manufacturing, installation, and wear. They include guidance errors on the machine tool guide rail, spindle rotation errors on the machine tool, and transmission chain transmission errors on the machine tool.
5. Measurement method
Processing accuracy adopts different measurement methods according to various processing accuracy content and accuracy requirements. Generally speaking, there are the following types of methods:
(1) Depending on whether the measured parameter is directly measured, it can be classified into two types: direct and indirect.
Direct measurement, the measured parameter is directly measured to obtain the measured dimensions. For instance, calipers and comparators can be used to measure the parameter directly.
Indirect measurement: To obtain the measured size of an object, we can either directly measure it or use indirect measurement. Direct measurement is more intuitive, but indirect measurement is necessary when the accuracy requirements cannot be met through direct measurement. Indirect measurement involves measuring the geometric parameters related to the object’s size and calculating the measured size based on those parameters.
(2) There are two types of measuring instruments based on their reading value. Absolute measurement represents the exact value of the measured size, while relative measurement doesn’t.
Absolute measurement: The reading value directly represents the size of the measured size, such as measuring with a vernier caliper.
Relative measurement: The reading value only indicates the deviation of the measured size relative to the standard quantity. If you use a comparator to measure the diameter of a shaft, you need to first adjust the zero position of the instrument with a gauge block and then measure. The estimated value is the difference between the diameter of the side shaft and the size of the gauge block. This is a relative measurement. Generally speaking, relative measurement accuracy is higher, but measurement is more troublesome.
(3) Depending on whether the measured surface is in contact with the measuring head of the measuring instrument, it is divided into contact measurement and non-contact measurement.
Contact measurement: The measuring head applies a mechanical force to the surface being measured, such as the use of a micrometer to measure parts.
Non-contact measurement: The non-contact measuring head avoids the influence of measuring force on results. Methods include projection and light wave interference.
(4) According to the number of parameters measured at one time, it is divided into single measurement and comprehensive measurement.
Single measurement: Each parameter of the tested part is measured separately.
Comprehensive measurement: It is important to measure comprehensive indicators that reflect the relevant parameters of a cnc components. For example, when measuring threads with a tool microscope, the actual pitch diameter, profile half-angle error, and cumulative pitch error can be measured.
(5) The role of measurement in the processing process is divided into active measurement and passive measurement.
Active measurement: The workpiece is measured during the processing, and the results are directly used to control the processing of the part, thereby preventing the generation of waste products in a timely manner.
Passive measurement: After machining, the workpiece is measured to determine if it is qualified. This measurement is limited to identifying scraps.
(6) According to the state of the measured part during the measurement process, it is divided into static measurement and dynamic measurement.
Static measurement: The measurement is relatively stationary. Measure diameter like a micrometer.
Dynamic measurement: During measurement, the measuring head and the measured surface move relative to each other to simulate working conditions. Dynamic measurement methods reflect the state of parts close to use and are the direction of development in measurement technology.
Anebon sticks to the basic principle: “Quality is definitely the life of the business, and status may be the soul of it.” For big discounts on custom precision 5 Axis CNC Lathe CNC Machined Parts, Anebon has confidence that we can offer high-quality products and solutions at reasonable price tags and superior after-sales support to shoppers. And Anebon will build a vibrant long run.
Chinese Professional China CNC Part and Metal Machining Parts, Anebon relies on high-quality materials, perfect design, excellent customer service, and competitive prices to win the trust of many customers at home and abroad. Up to 95% of products are exported to overseas markets.
Post time: Apr-08-2024


